TorBox doesn’t support only internet access and client connections via WiFi (an additional USB WiFi adapter is necessary) or cable, it also supports internet access via a cellular network. Below, we show you how you can upgrade your Raspberry Pi.
Used Items
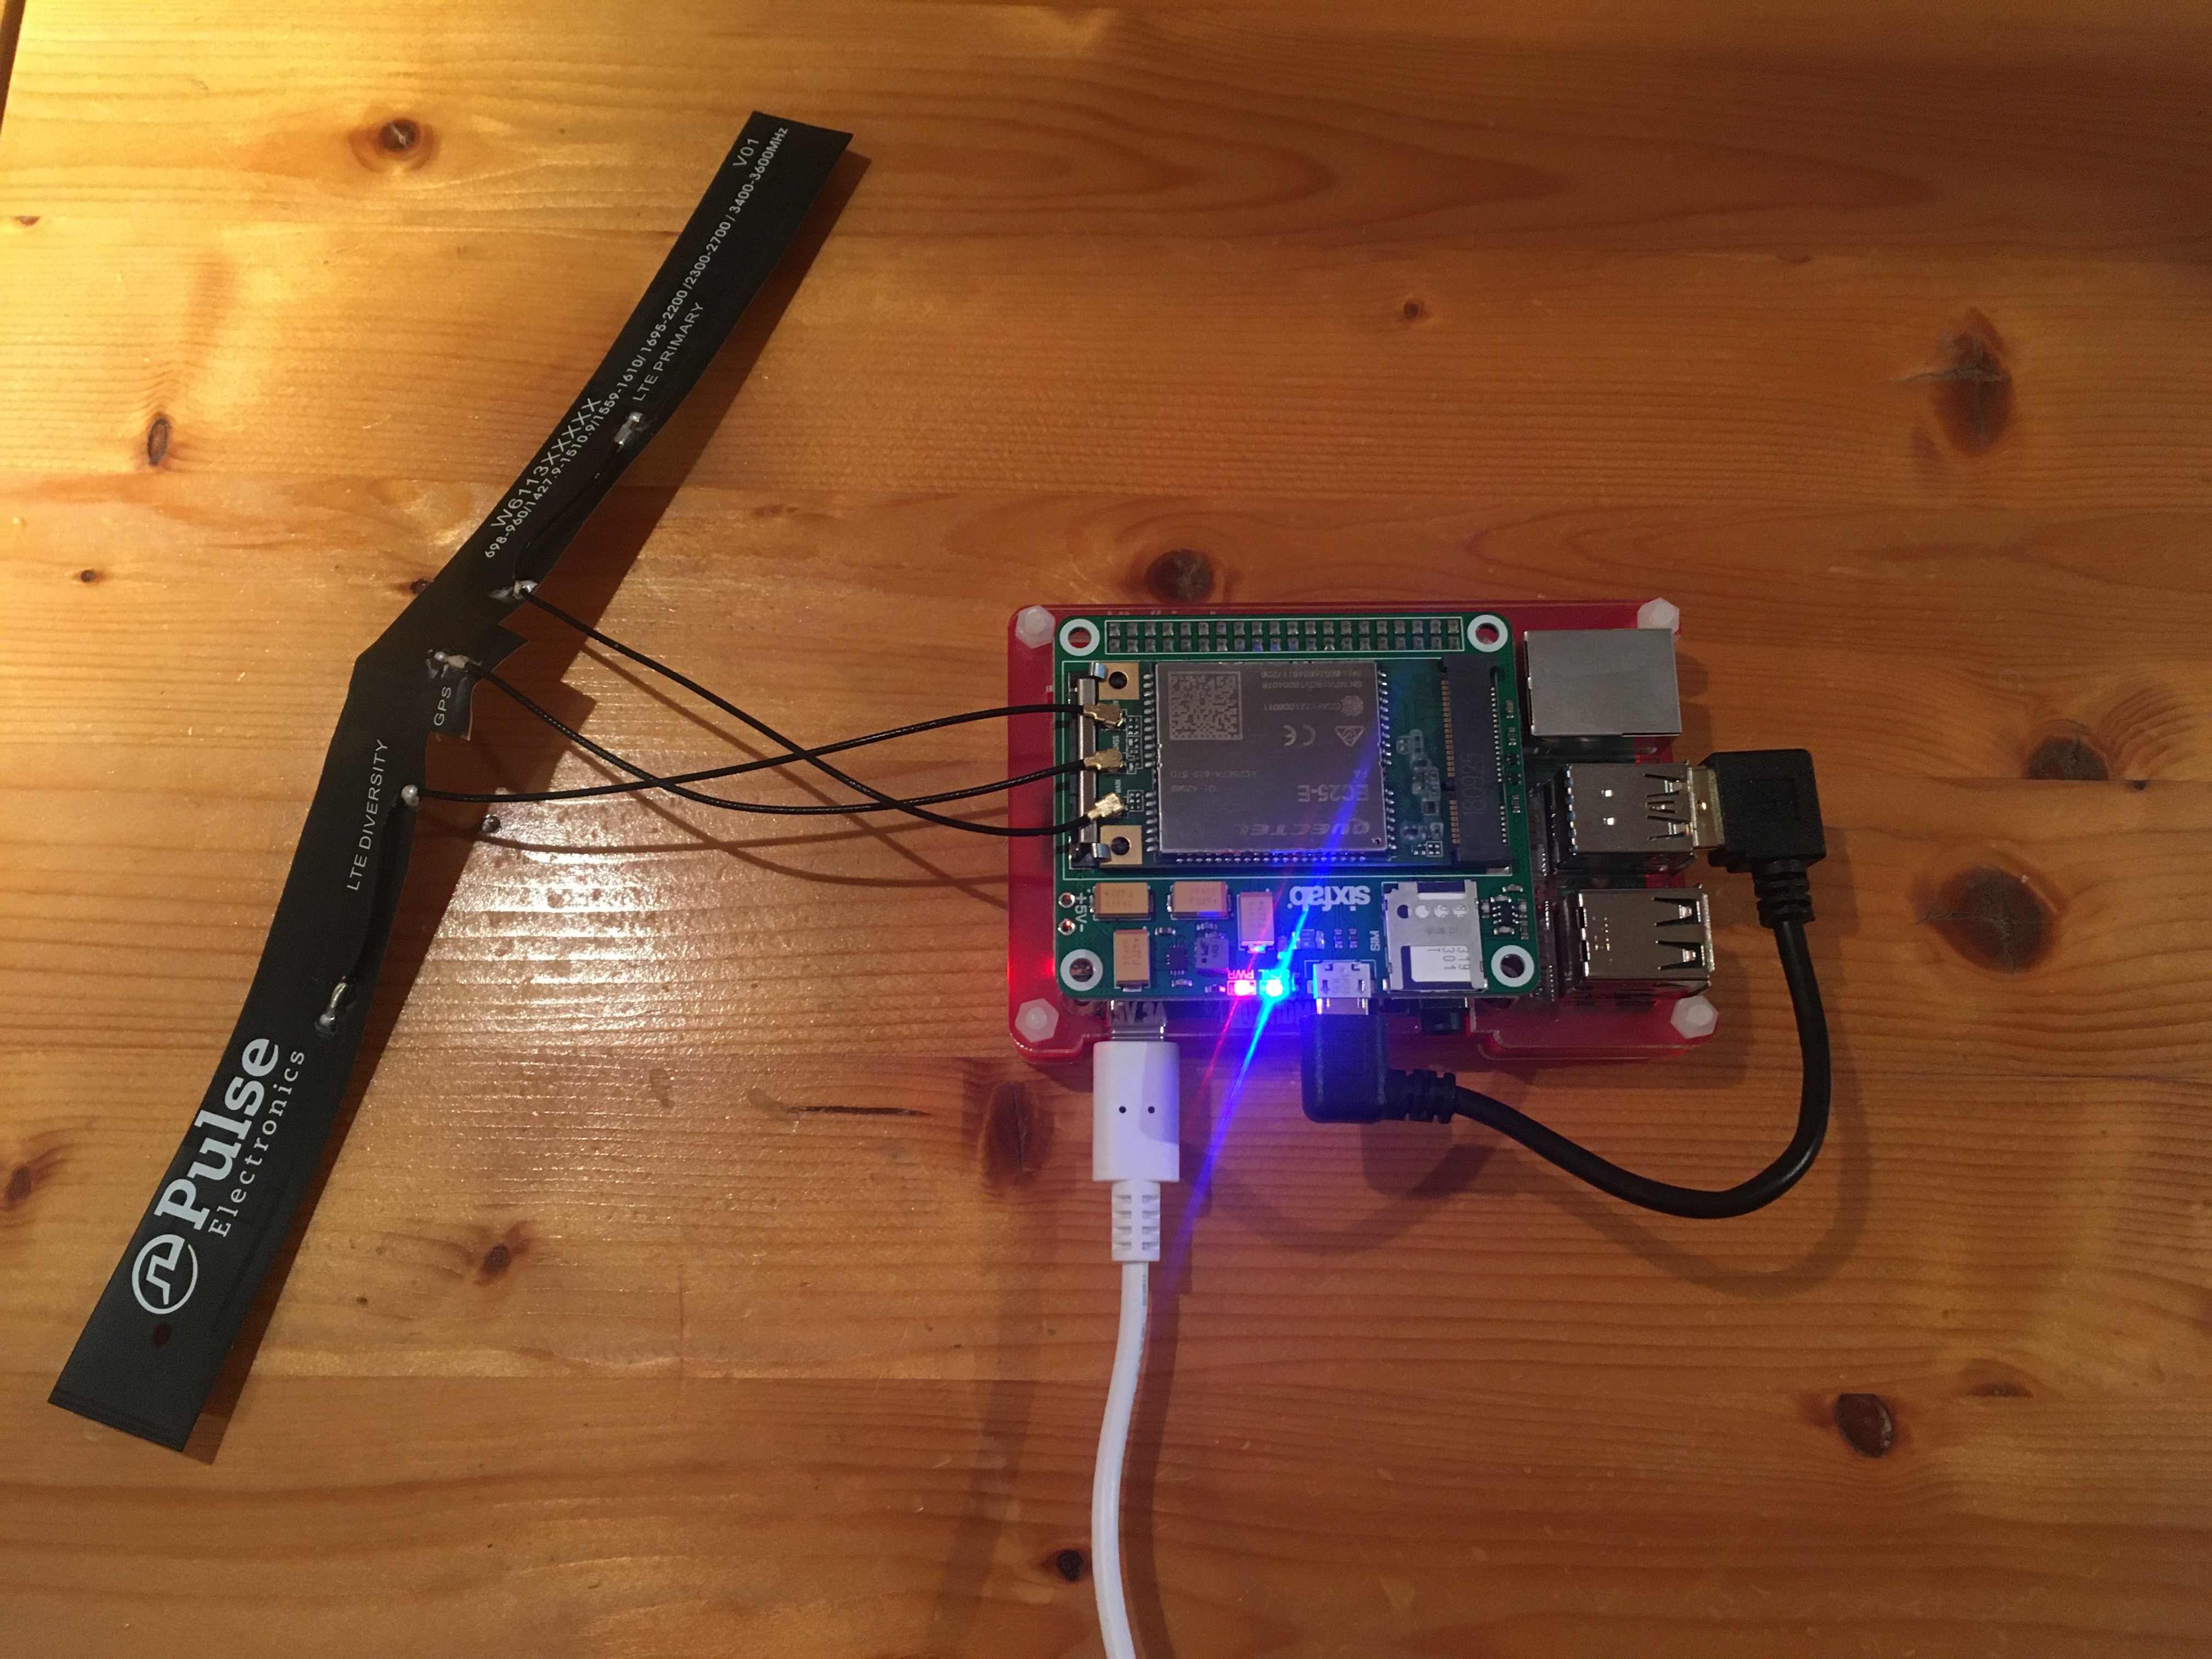
- Raspberry Pi 4 Model B with a Pimoroni’s chunky heatsink combined with a Pibow Coupé 4 case. With that case, a Sixfab Shield/HAT can be easily attached/detached on/from the 40 GPIO pin.
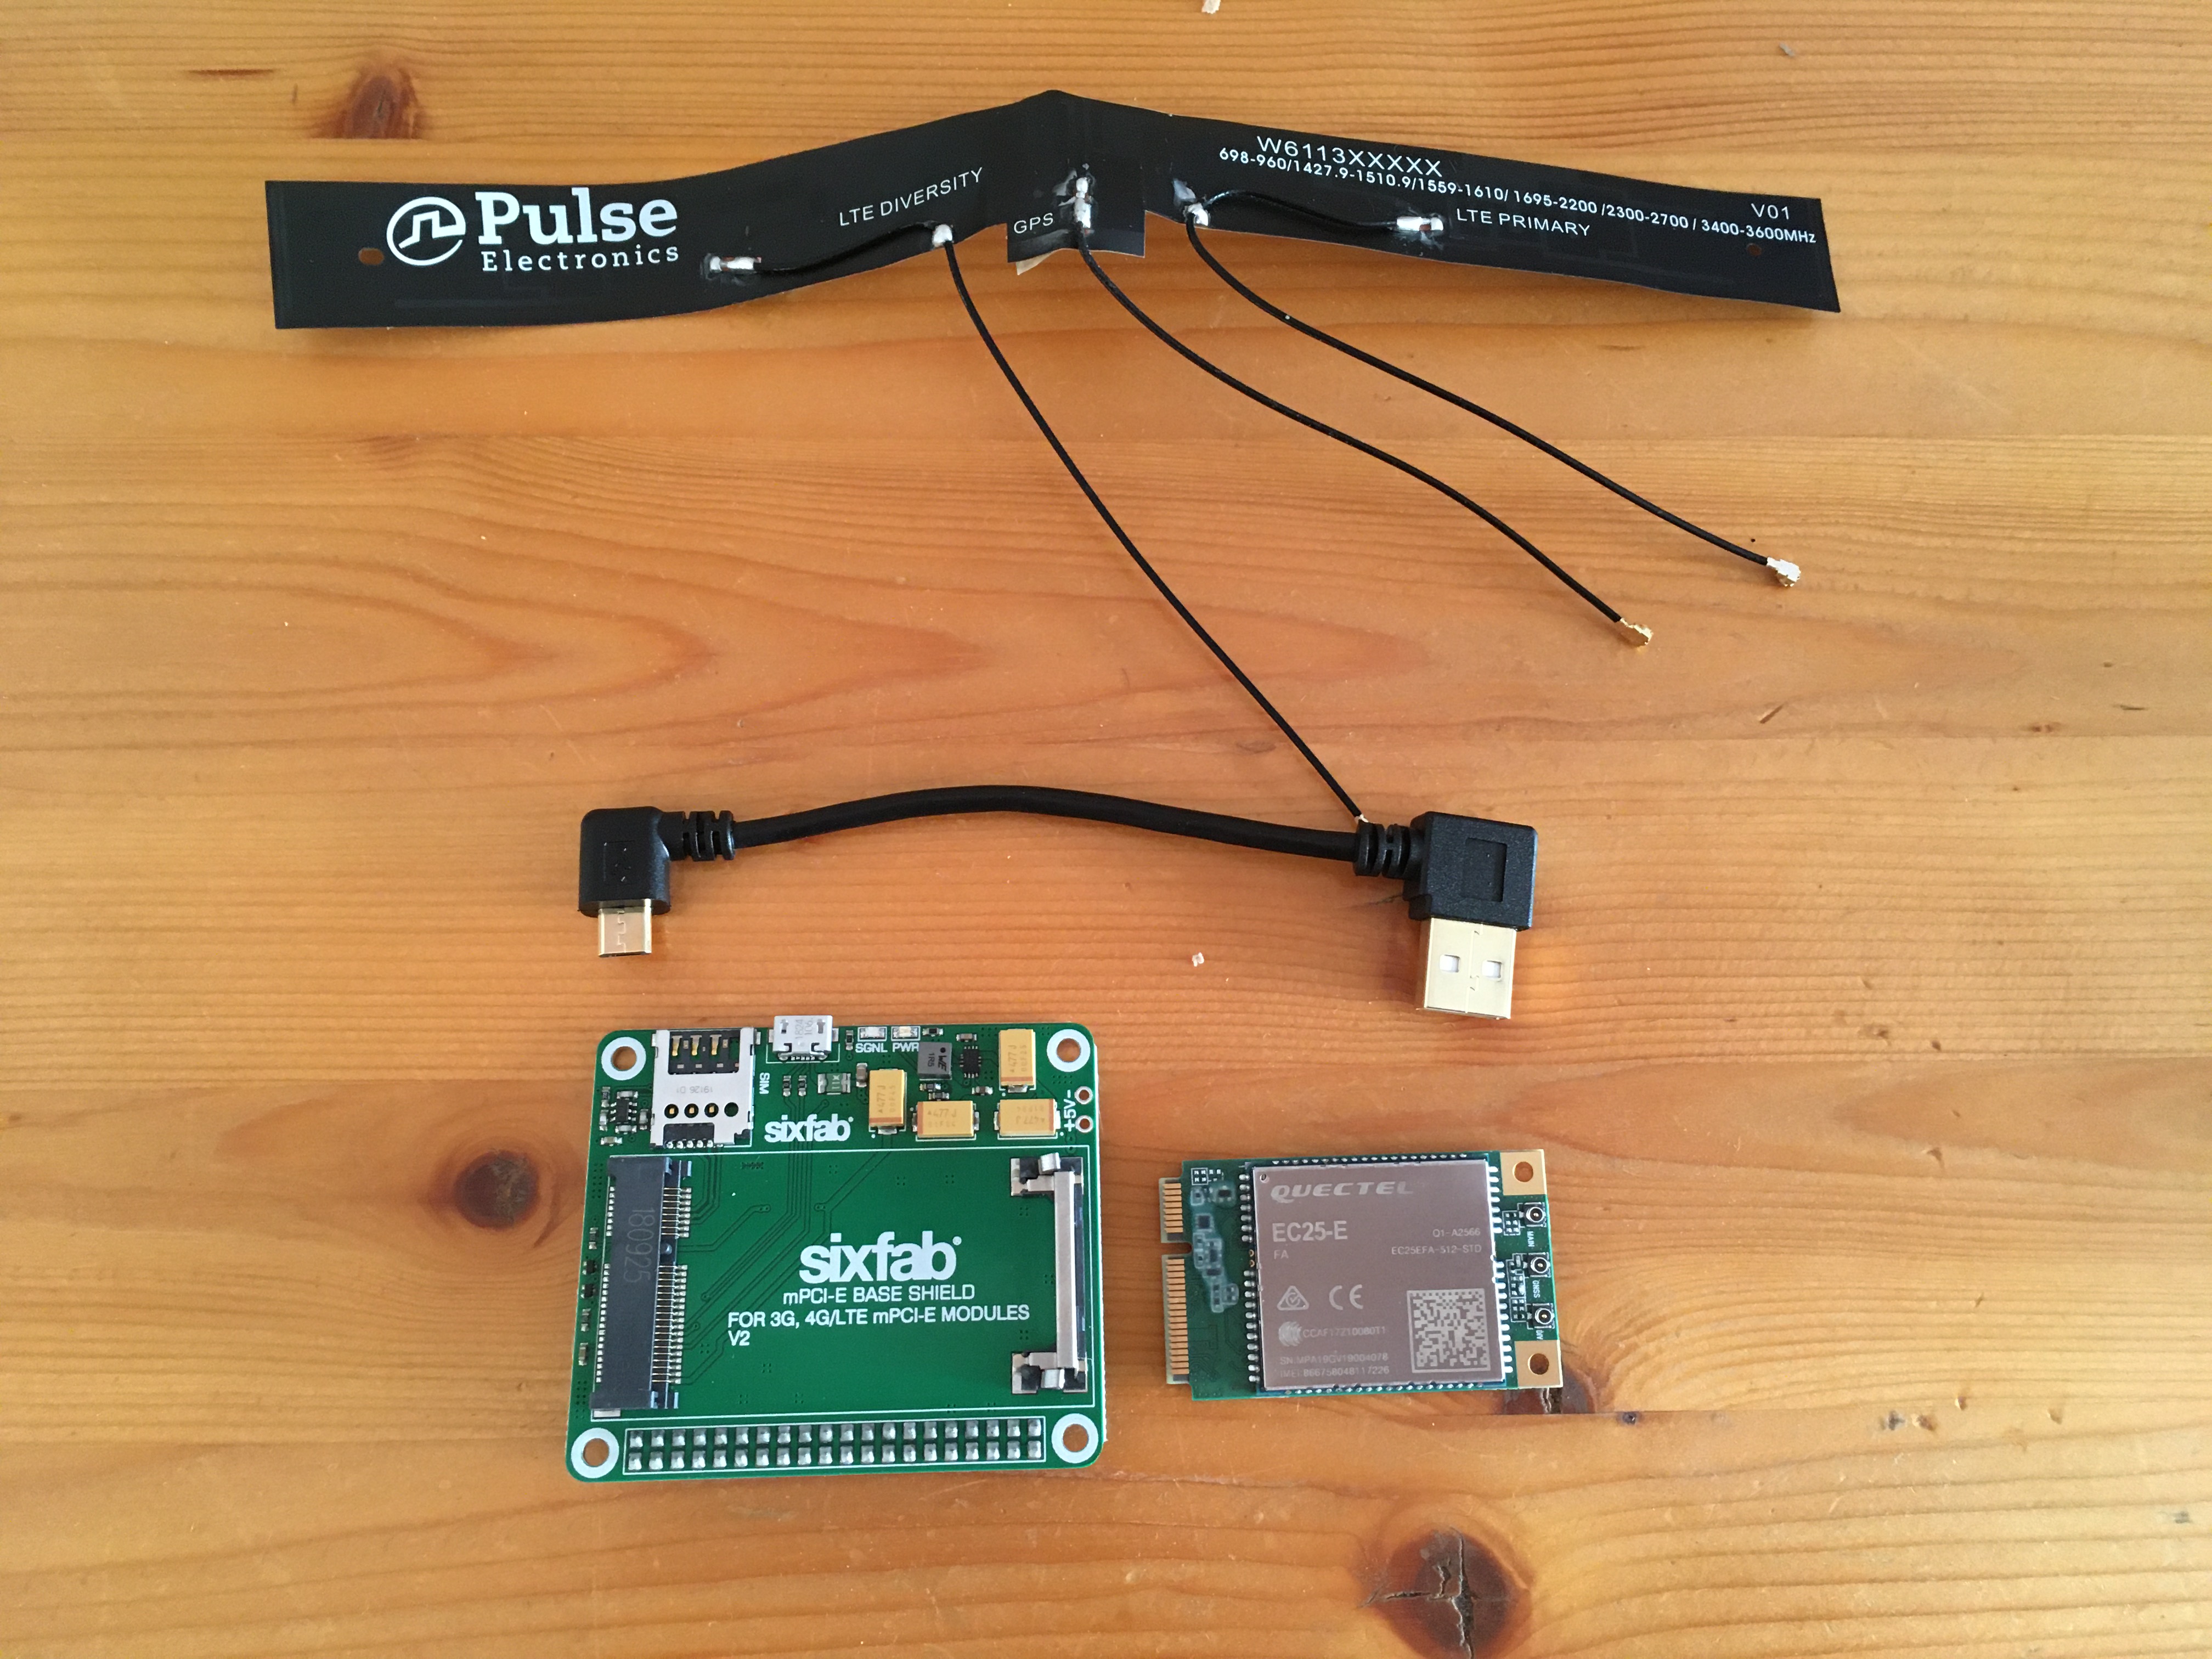
- Raspberry Pi 3G/4G & LTE Base HAT (the image above shows the retired Sixfab Raspberry Pi 3G-4G/LTE Base Shield V2).
- Quectel EC25 Mini PCle 4G/LTE Module – This module supports GPRS/EDGE/UMTS/LTE. Attention: You have to choose the correct regional option! This module requires a micro SIM card without pin code (you can deactivate the pin code in a mobile phone).
- LTE Main & Diversity & GNSS Triple Port u.FL Antenna – 100mm – Attention: The Quectel EC25 Mini PCle 4G/LTE Module doesn’t work without an antenna. Alternatively, the LTE Main & Diversity Dual u.FL Antenna – 100mm should also work; however, we didn’t test it out.
Support software installation and configuration
- Go to the configuration sub-menu, scroll to the bottom and choose the menu entry 16 to start the installation and configuration of the support software.
- Choose the correct Sixfab Shiel/Hat.
According to our recommendation above, it should be the “3G / 4G Base Hat“. - What is your carrier APN?
You find the APN settings of most carriers here . - Does your carrier need a username and password?
Again, you find this information on most carriers here. “Blank” and “empty” could mean “No” — if you are not able to establish a connection, and the rest is without errors, the switch from “Yes” to “No” or visa versa.
The questions below are not asked starting with TorBox v.0.4.0: - What is your device communication port?
If you use the Sixfab Shield with the USB connector (as in our image above), you should choose ttyUSB3. - Do you want to activate the auto-connect / reconnect service at RPi boot up?
Depending on your use case, “Yes” or “No”.
How can I securely route my data stream through the cellular connection?
After assembling all the hardware, installing and configuring the support software correctly, choose entry 8 in the main menu to route all your encrypted data through the cellular connection.
By the way…
If it doesn’t work, shows you strange error messages, or TorBox even complains that you don’t have any ppp0 device, check if you connected your antenna correctly. ?