
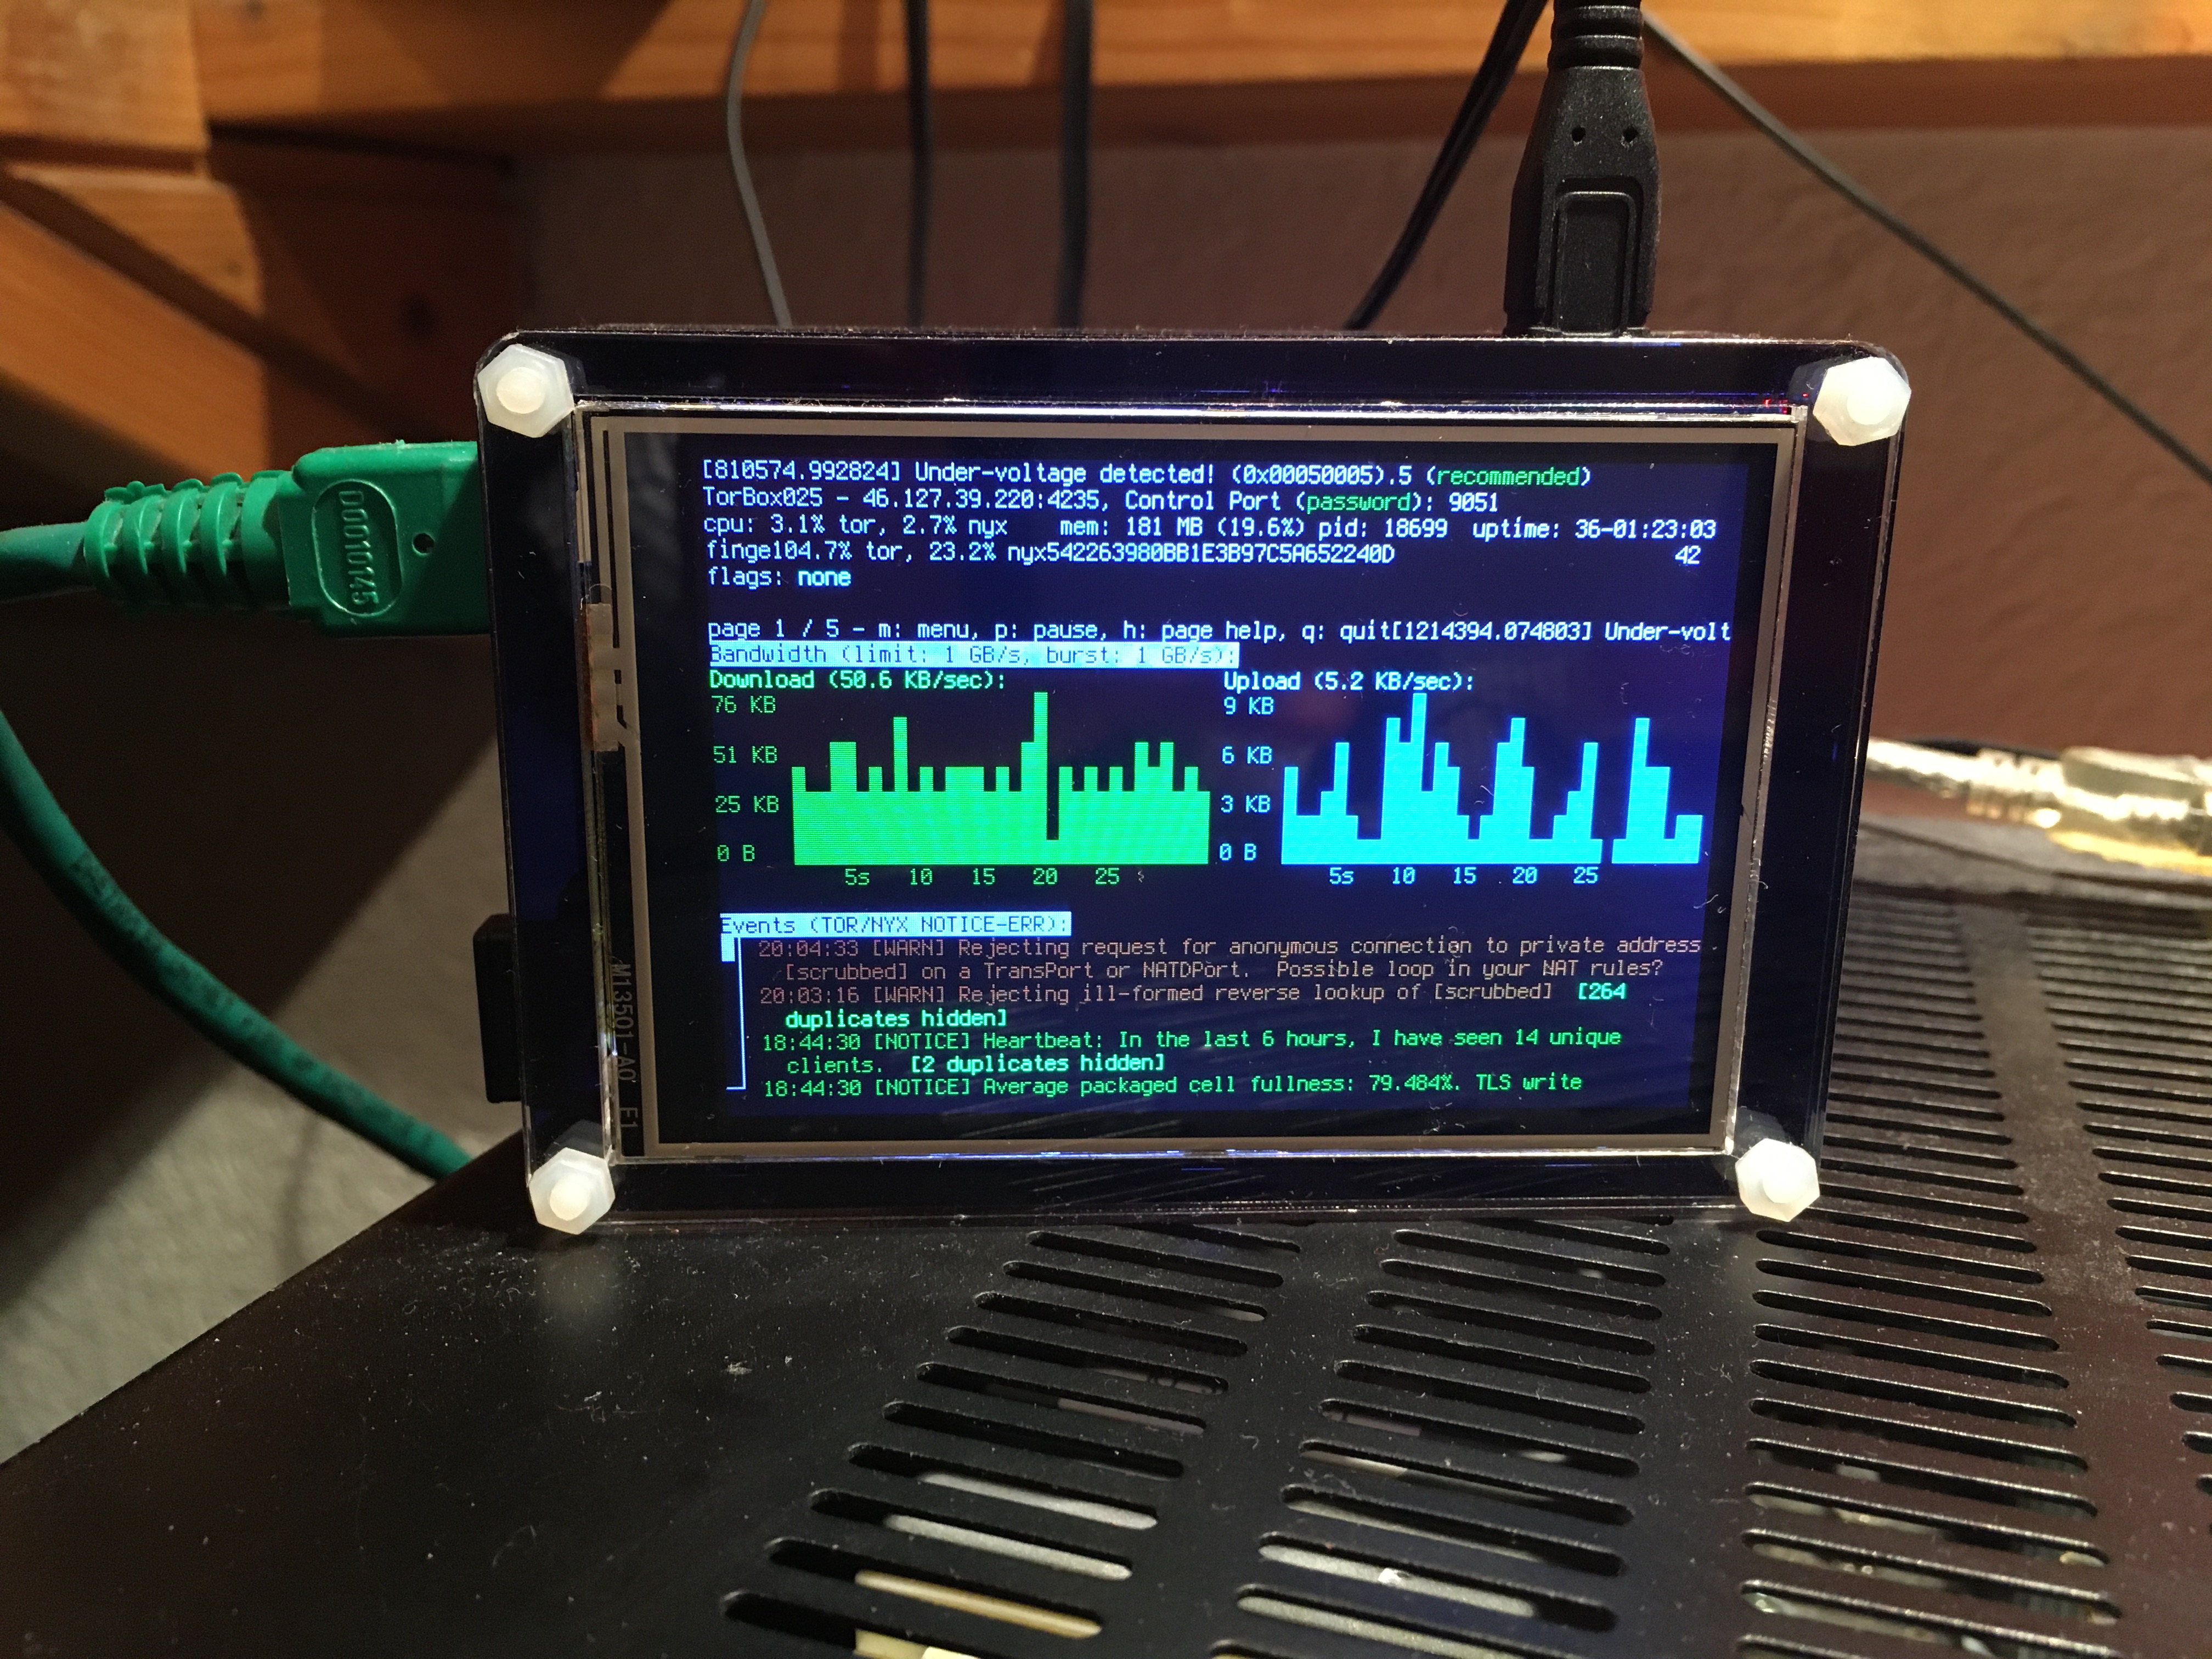
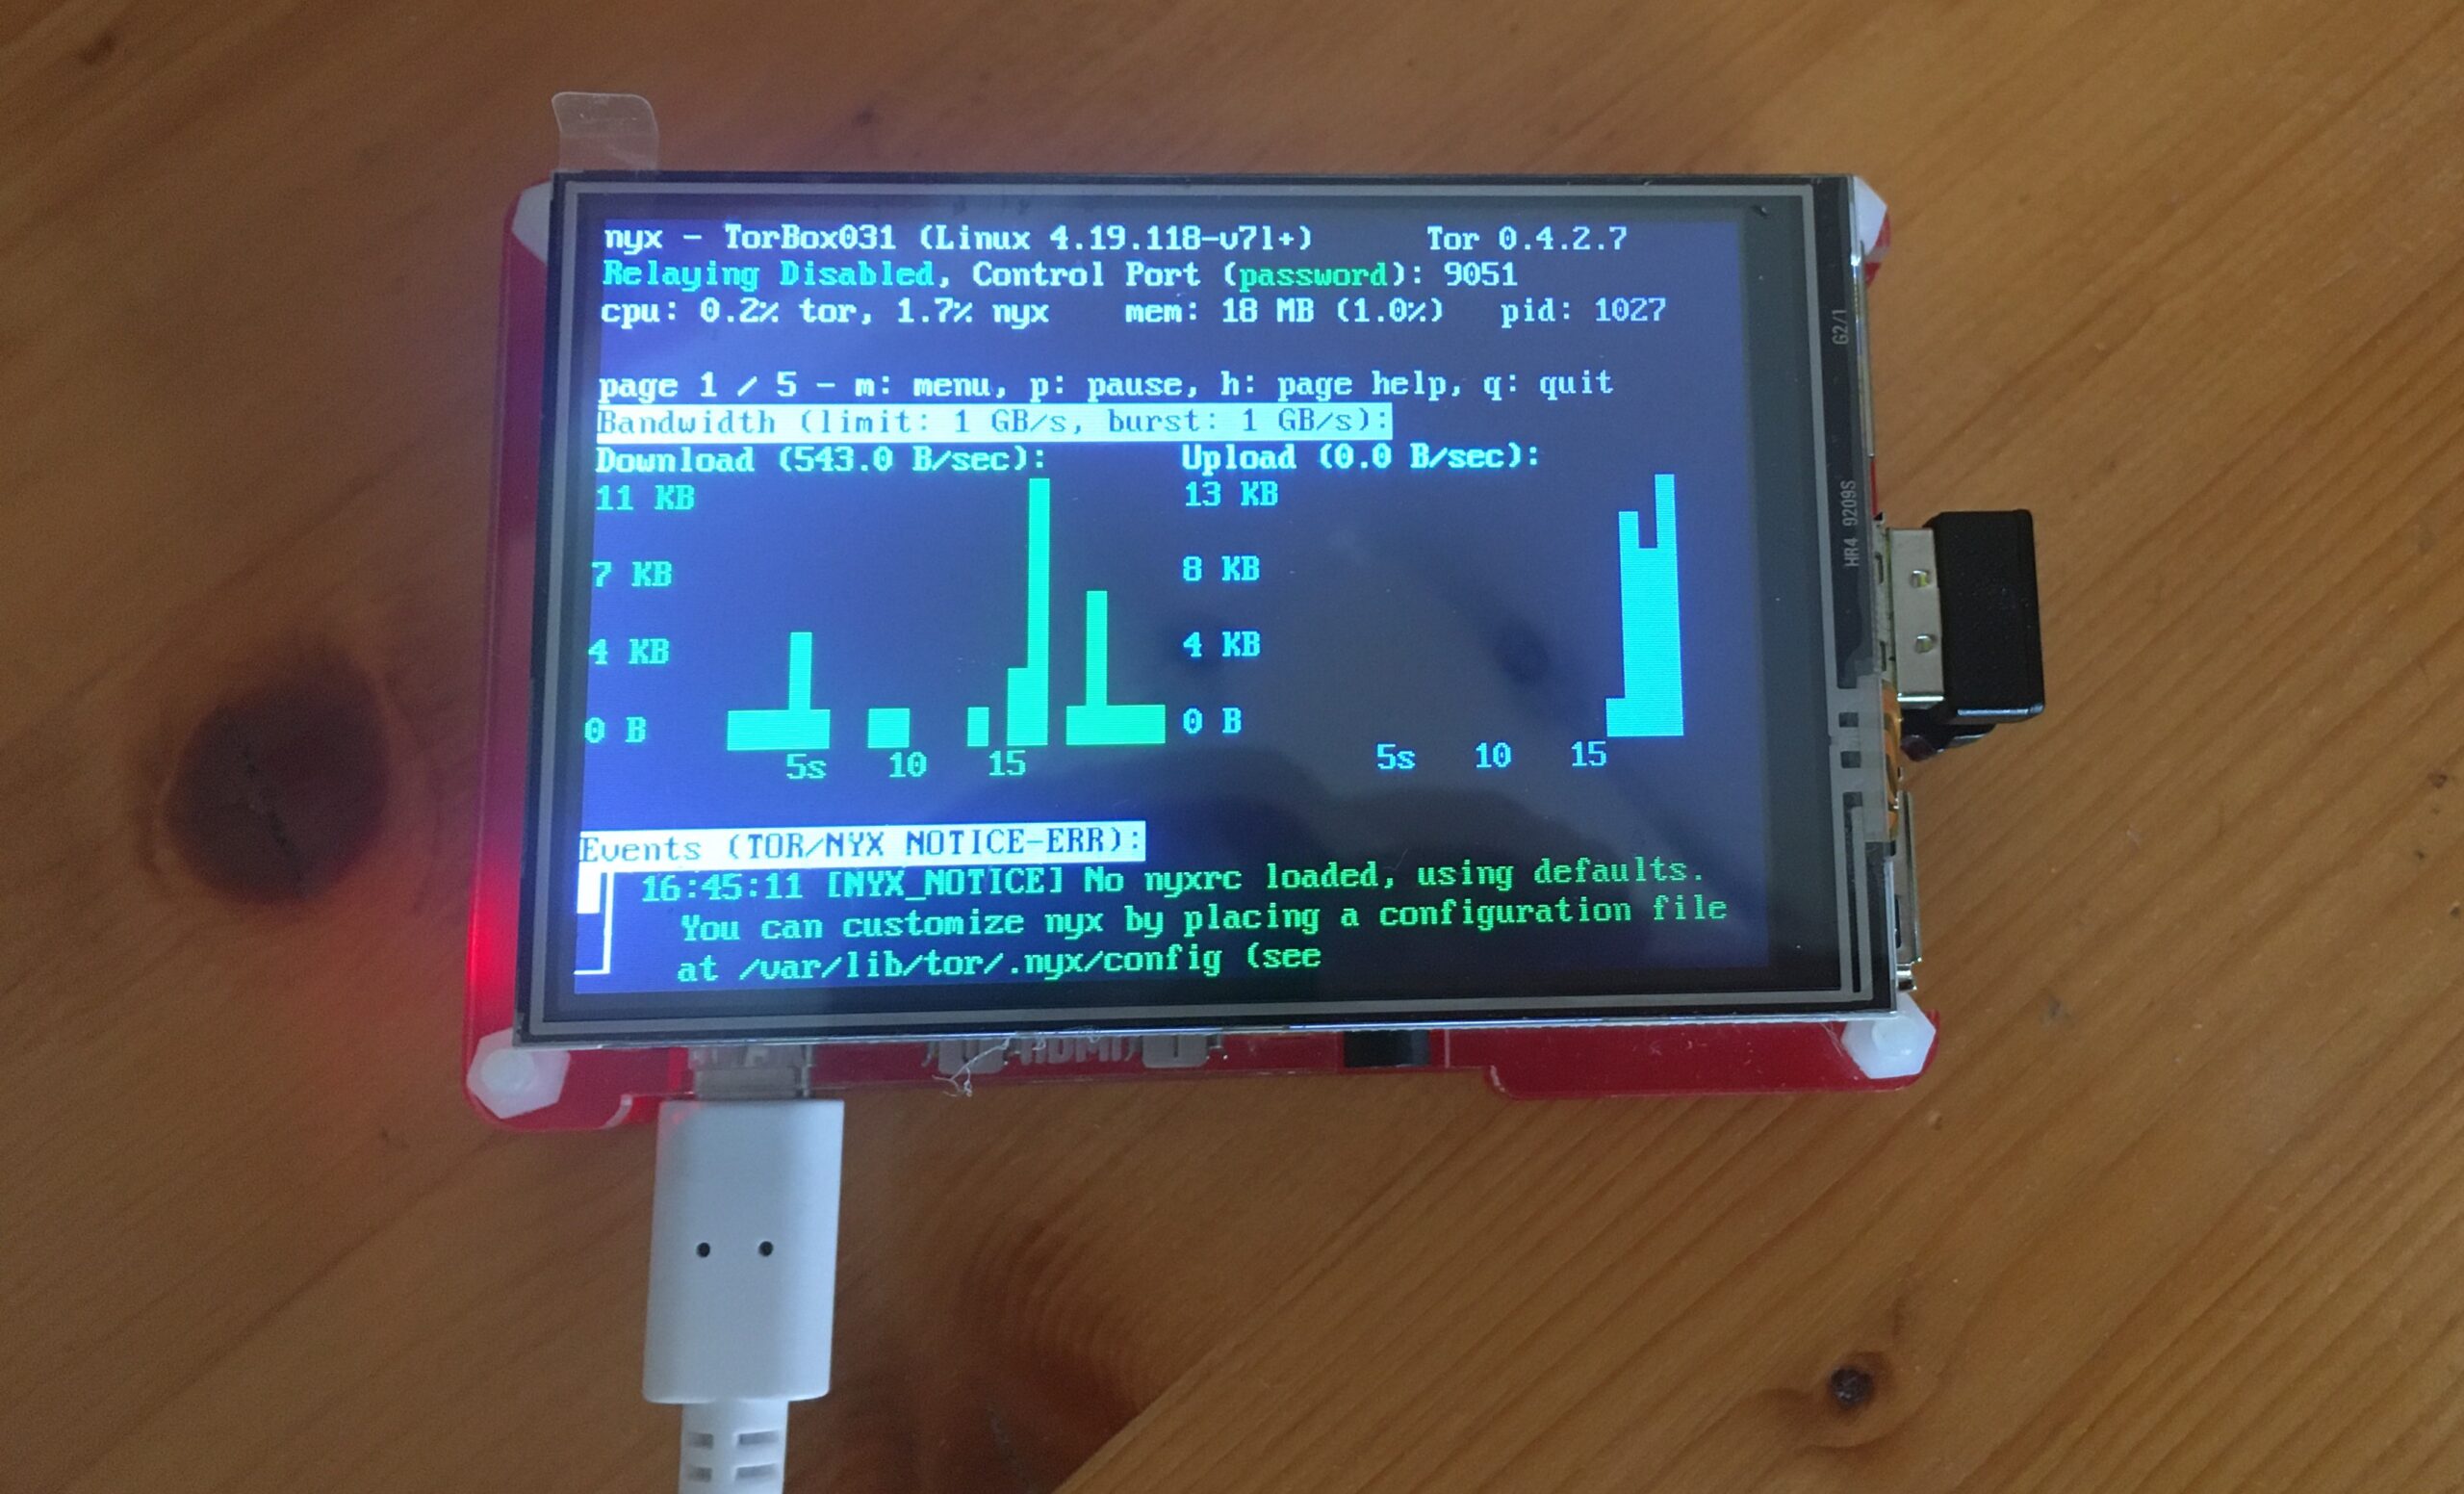
If you don’t want to use TorBox for security reasons only, but also would have a cute eye-catcher, then the combination with a TFT display could be an excellent option for you. In combination with the main menu entry 1 “Tor statistics”, such display is also a convenient way to see at a glance whether TorBox is running correctly or not.
Because of its hardware and software quality, we recommend using a PiTFT 3.5″ resistive touch 320×480 from Adafruit. However, you can use almost any display, even if we recommend a minimum size of 3.5″ because all menus and messages are set to work with a 25×80 textual screen. By the way: the touch capability of such a TFT doesn’t work in a terminal.
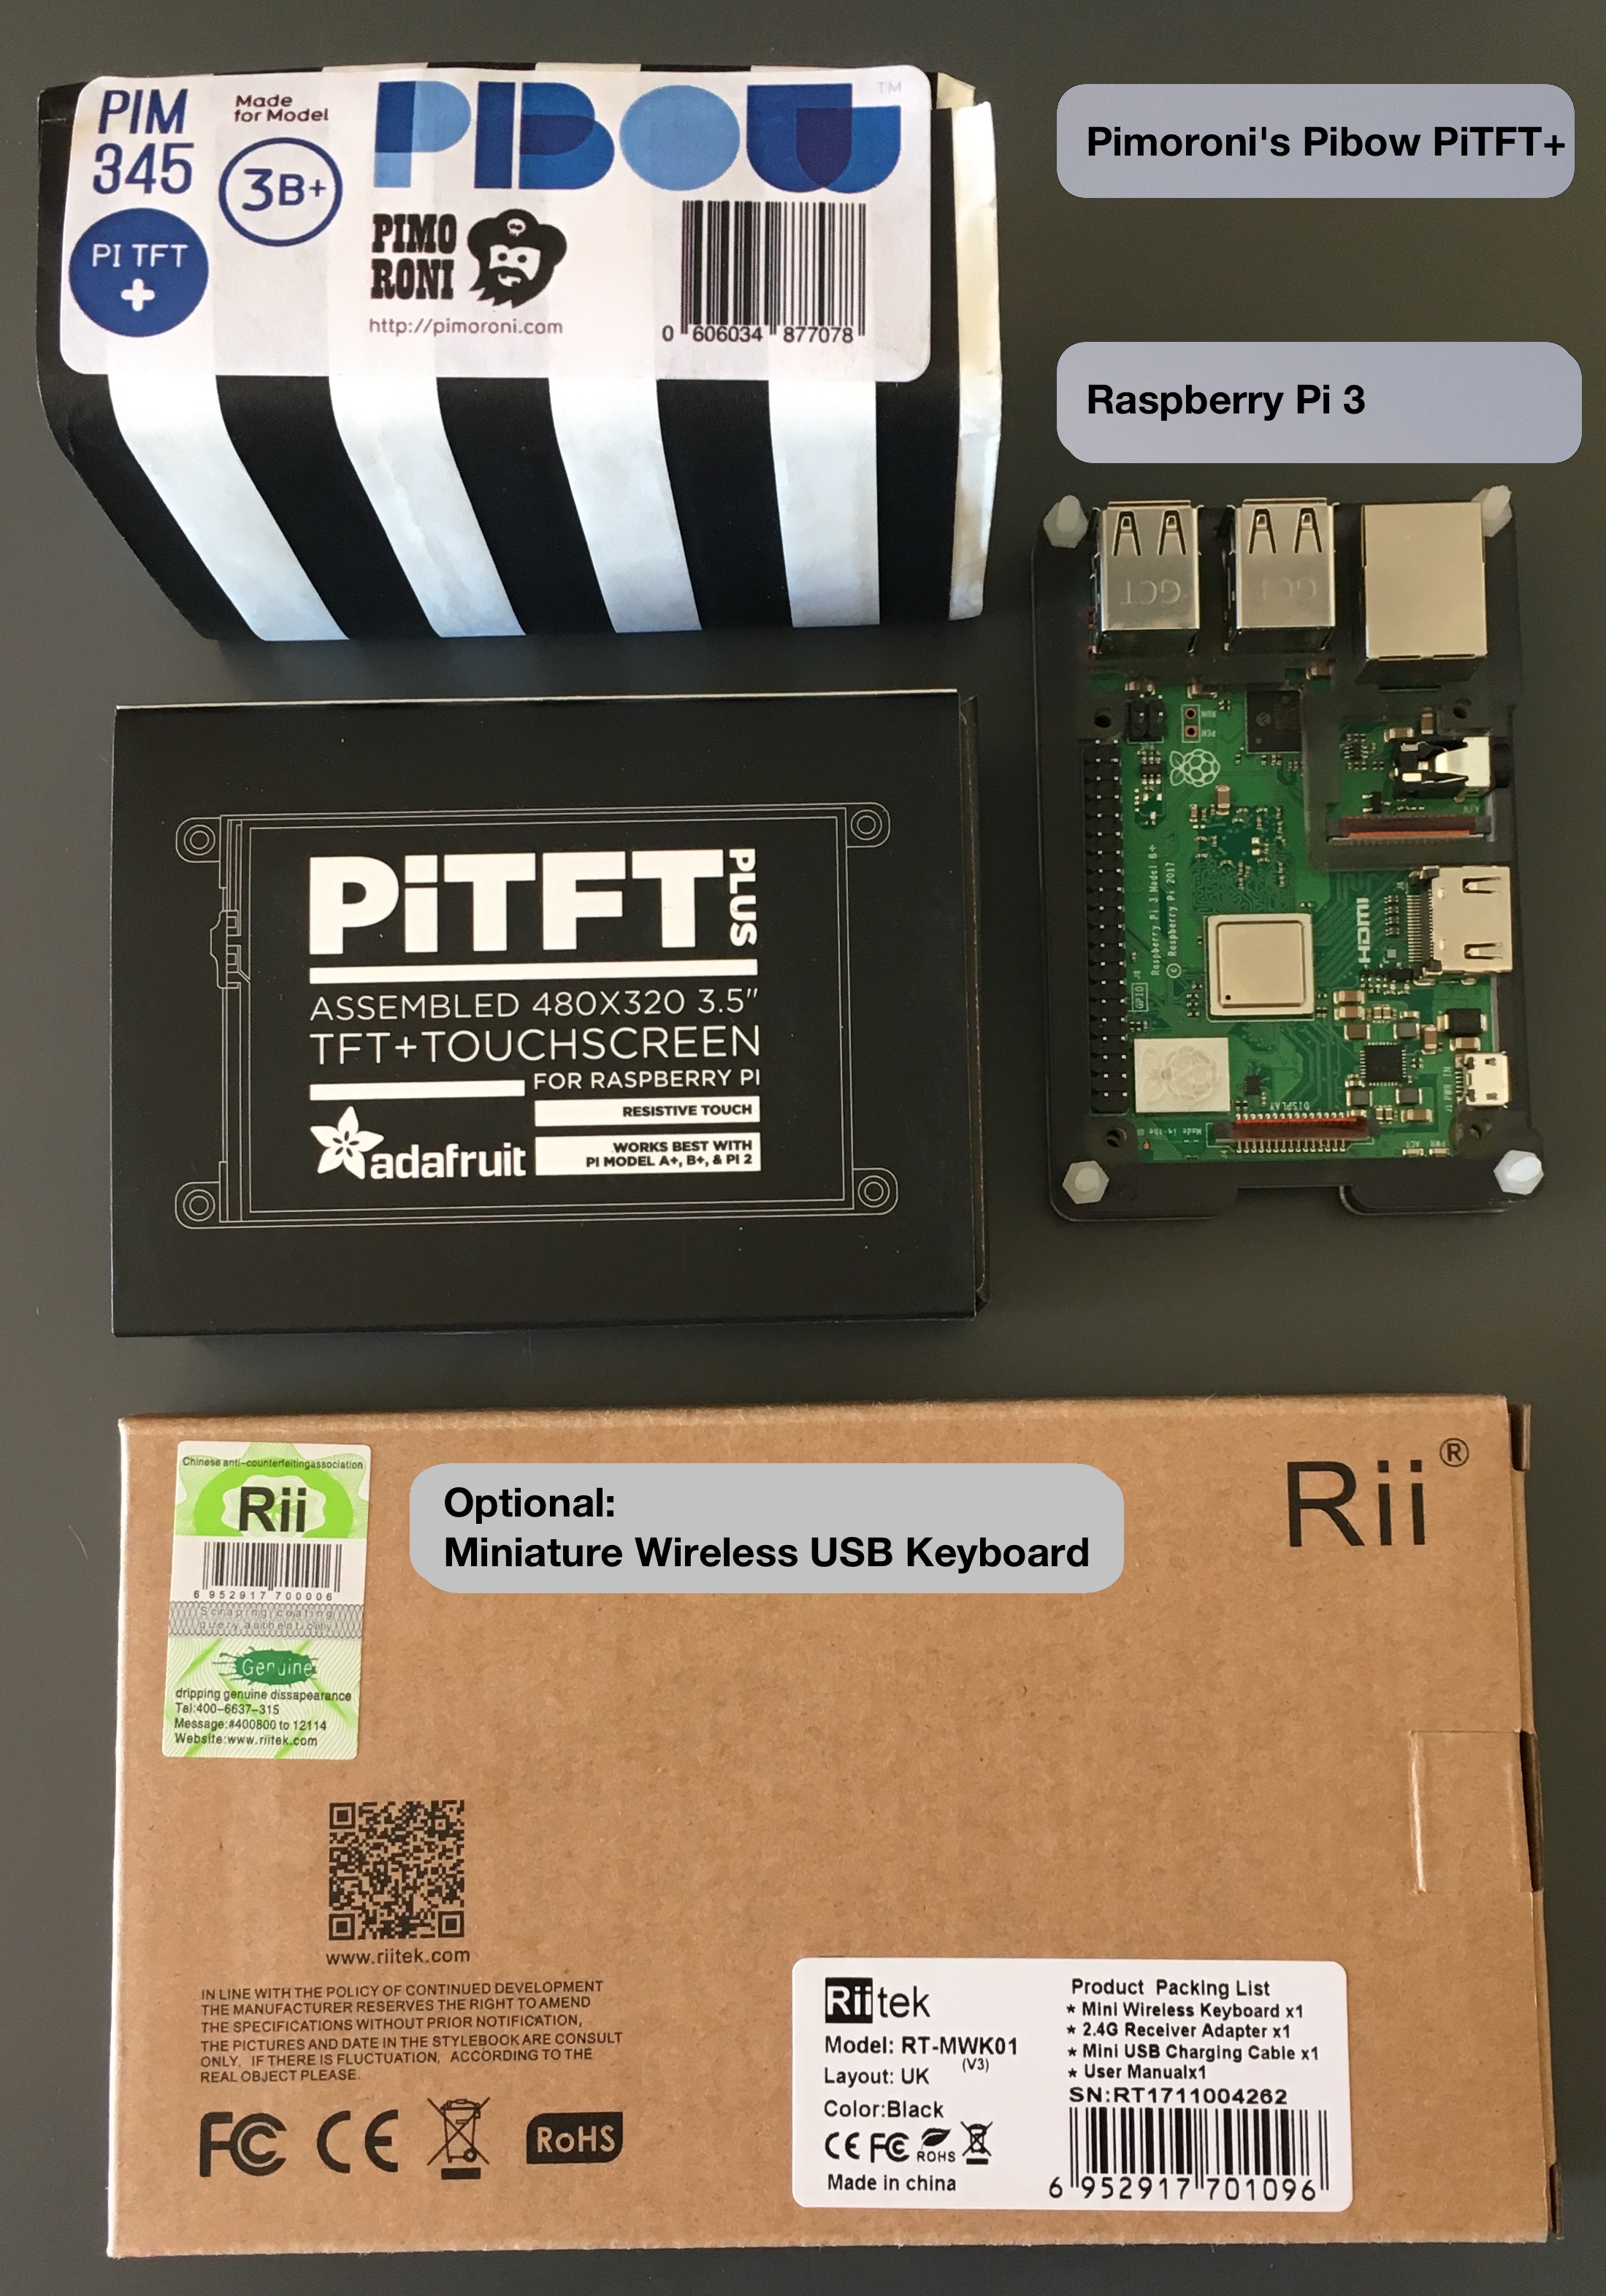
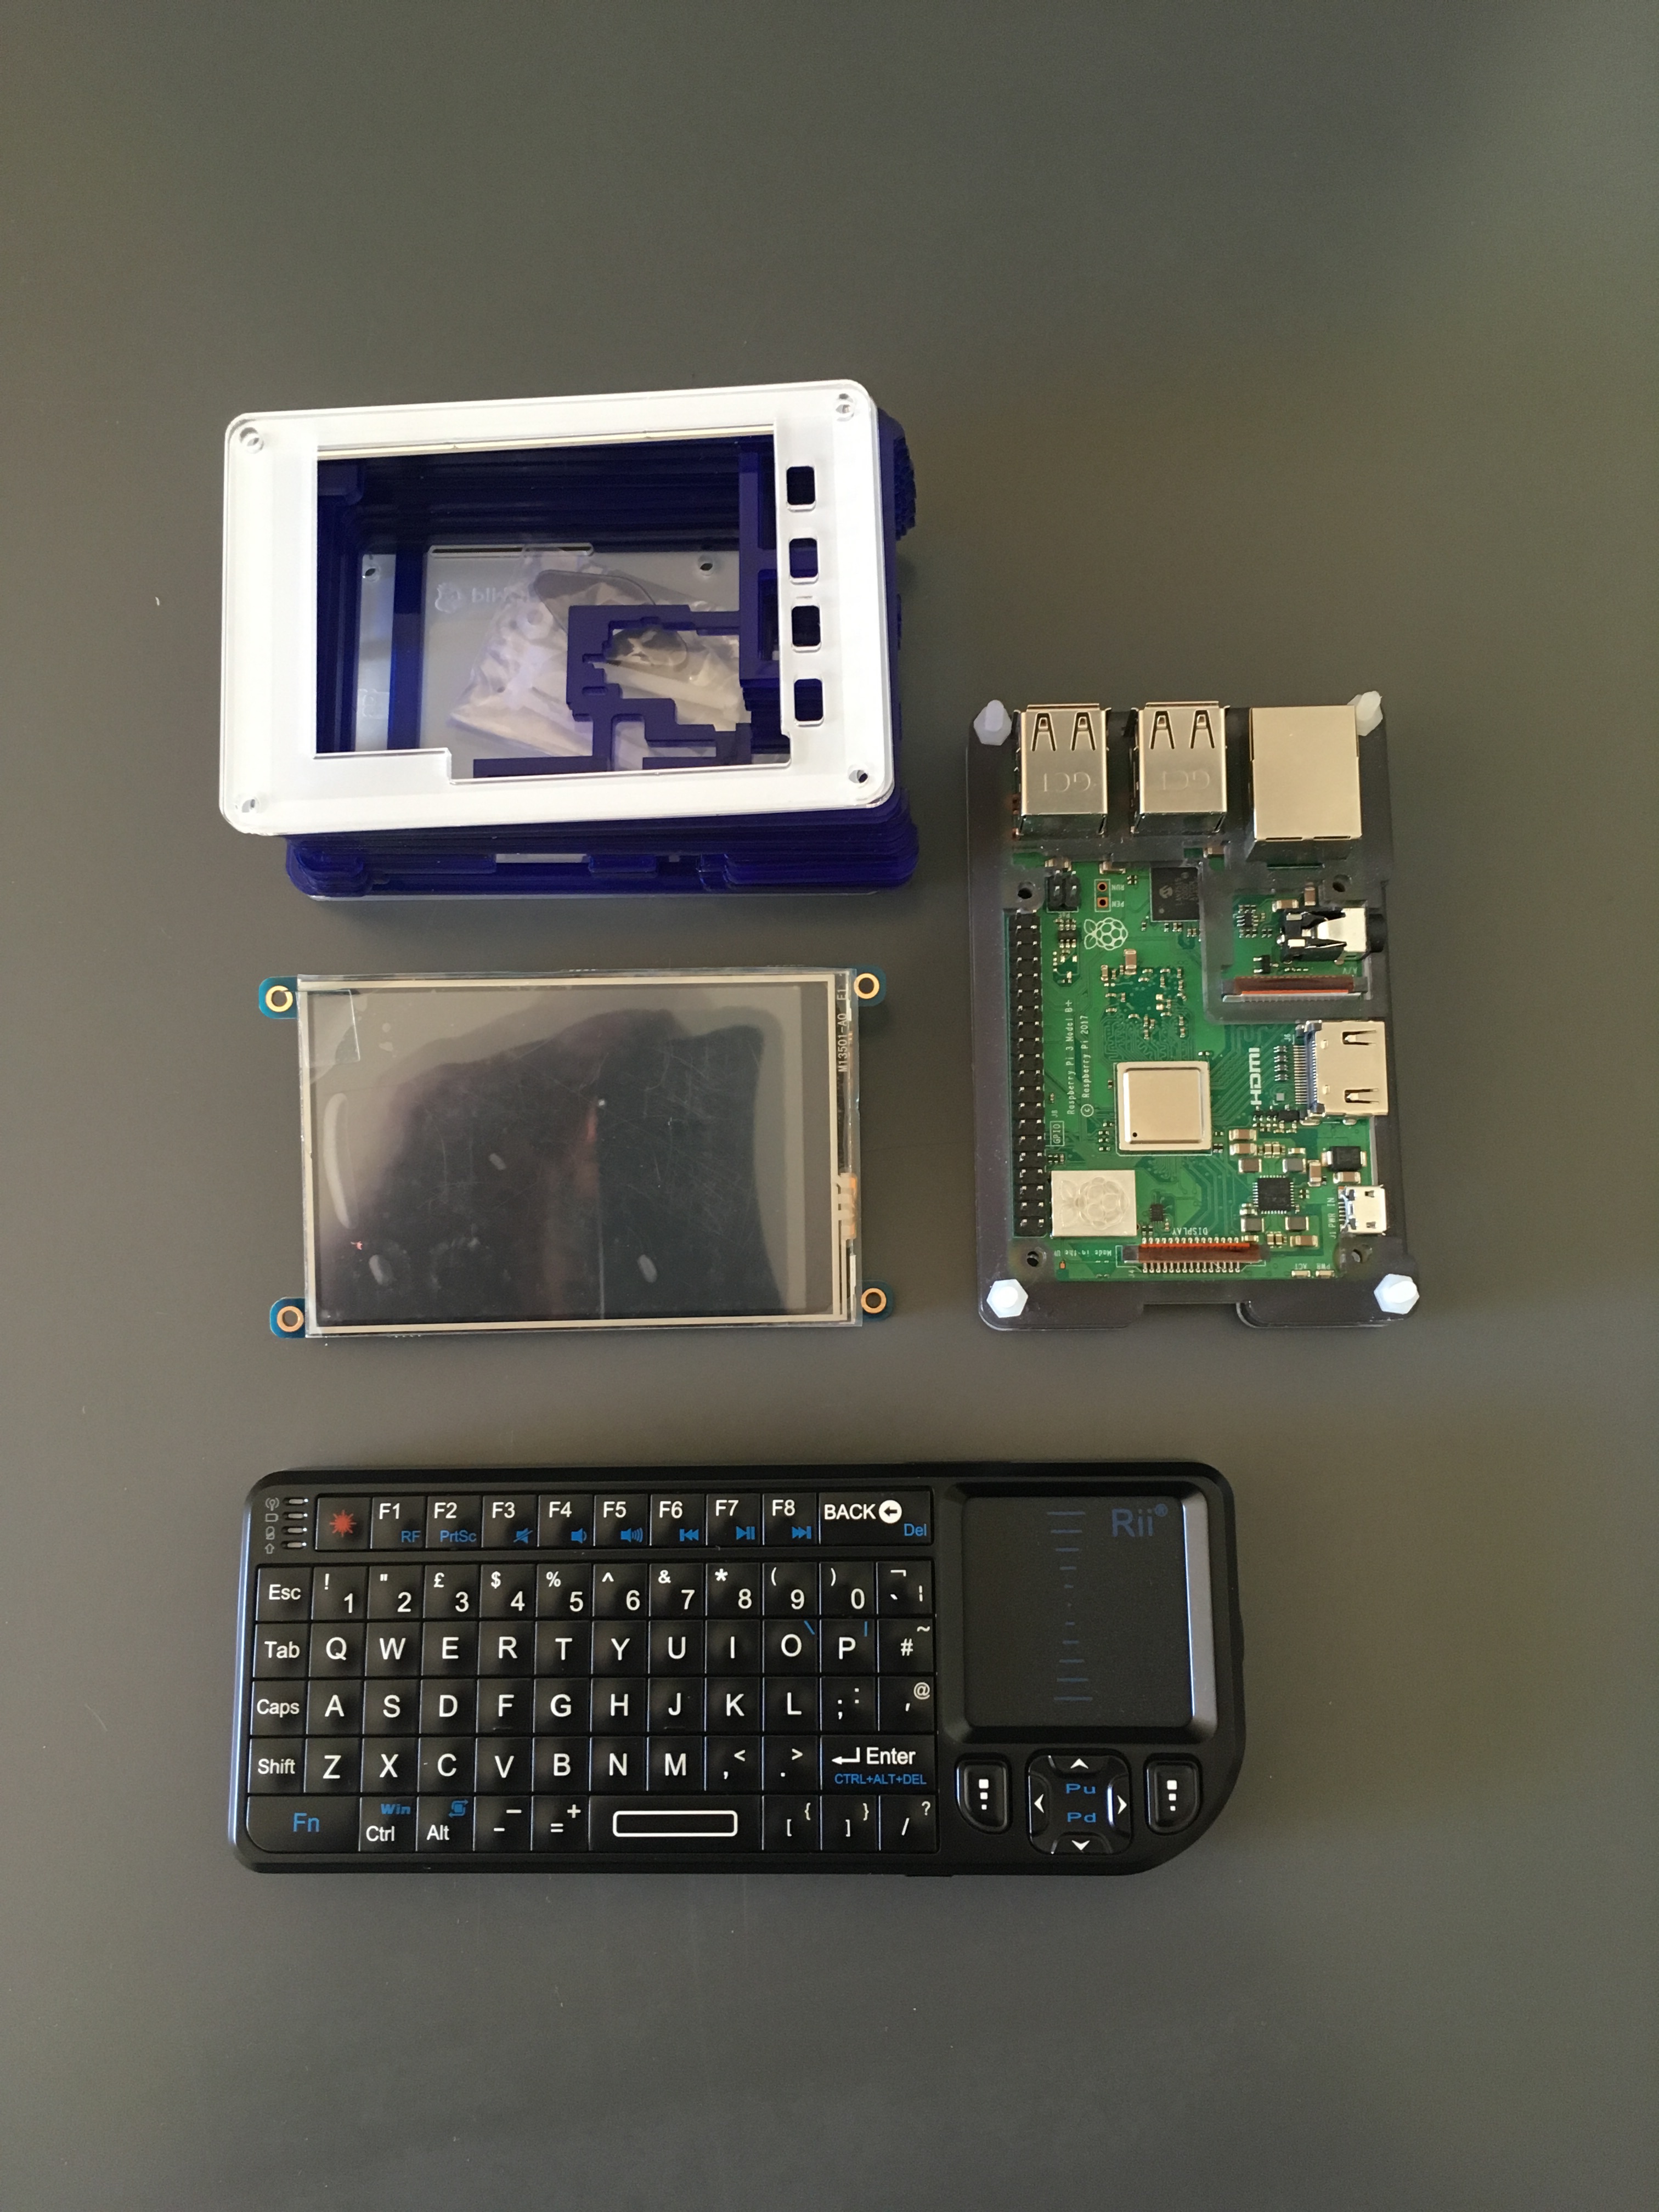
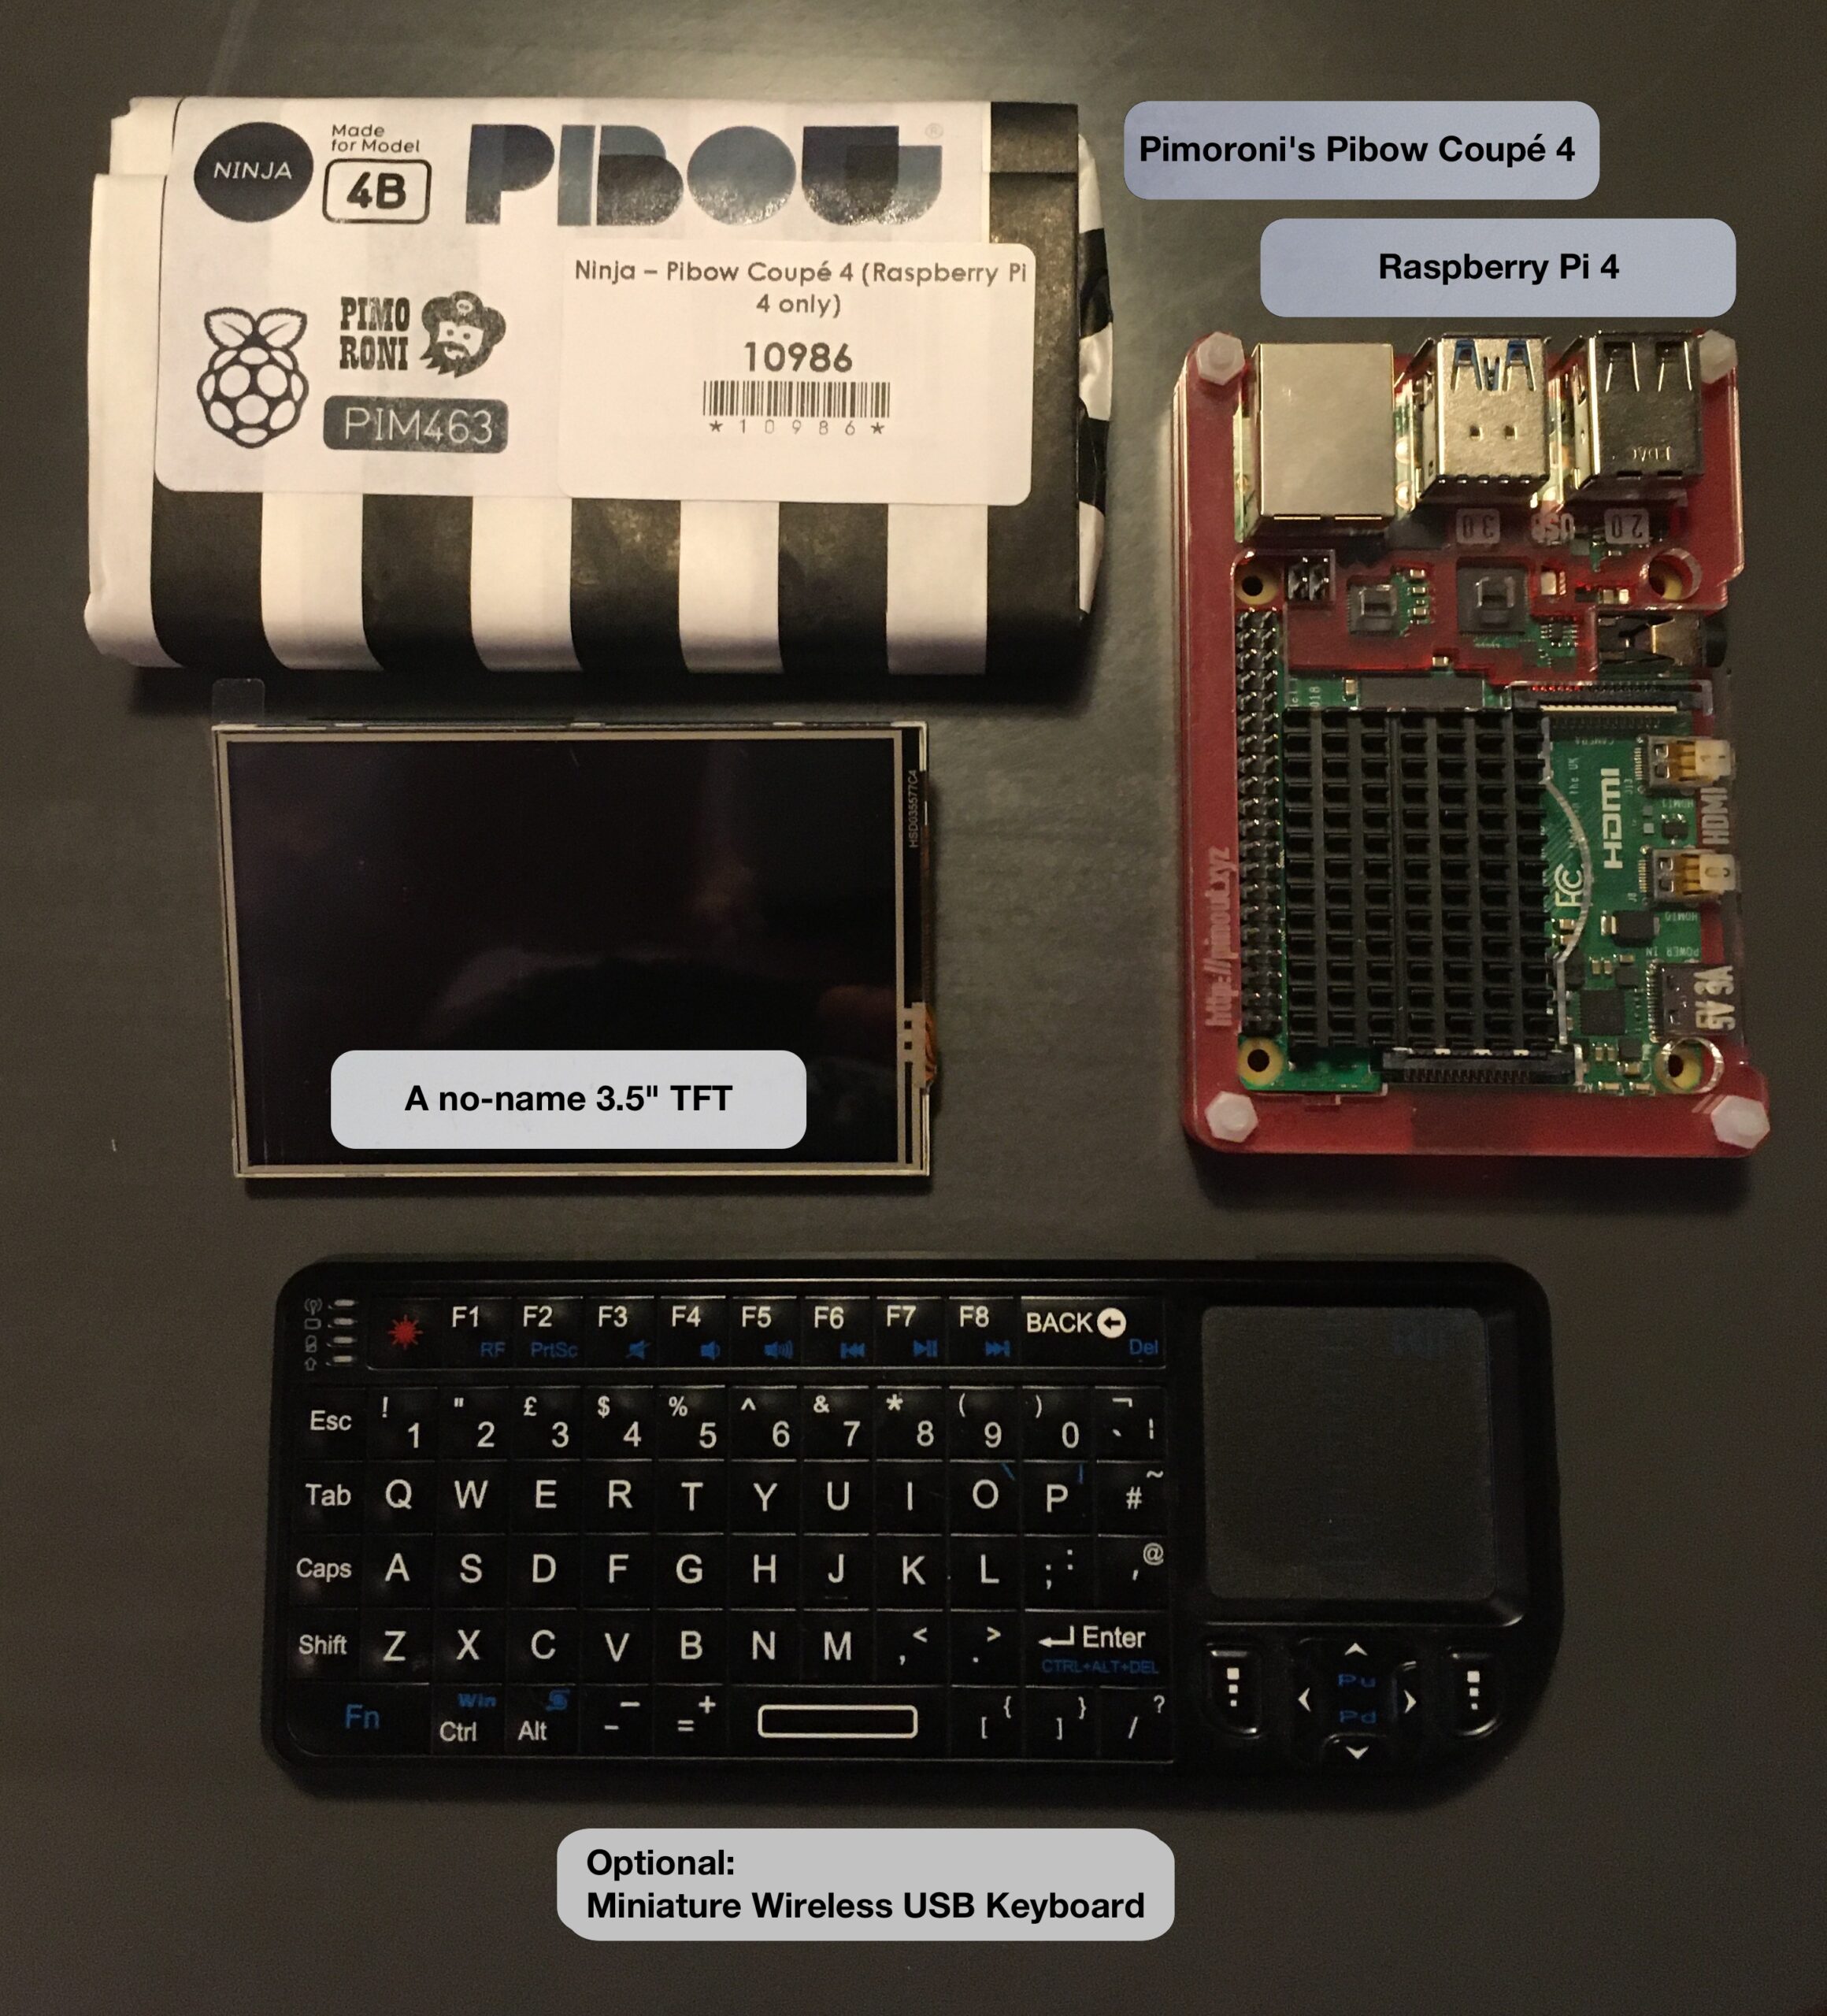
For example 1, we use a PiTFT 3.5″ resistive touch 320×480 from Adafruit with a Pimoroni Pibow PiTFT+ case on a Raspberry Pi 3 (Model B / Model B+). Unfortunately, Pimoroni’s Pibow PiTFT+ case is not available for the Raspberry Pi 4. However, this case is not absolutely necessary. Therefore, for example 2, we use a no-name 3.5″ TFT with a Pimoroni Pibow Coupé 4 case on a Raspberry Pi 4 Model B.
• • •
Example 1: A PiTFT 3.5″ resistive touch 320×480 from Adafruit with a Pimoroni Pibow PiTFT+ case on a Raspberry Pi 3 Model B+
• • •
Remarks
- After everything has been assembled, and the SDCard with TorBox has booted up, you can only see a bright TFT display at first. The TFT display can be configured correctly via SSH using menu entry 12 in the TorBox’s configuration sub-menu. Once this is done, the TorBox menu should automatically appear on the TFT display after booting.
- If you use the PiTFT 3.5″ resistive touch 320×480 from Adafruit with a Pimoroni Pibow PiTFT+ case, you will need to remove the mounting holes from the side of the PiTFT board (they’re designed to be broken off cleanly).
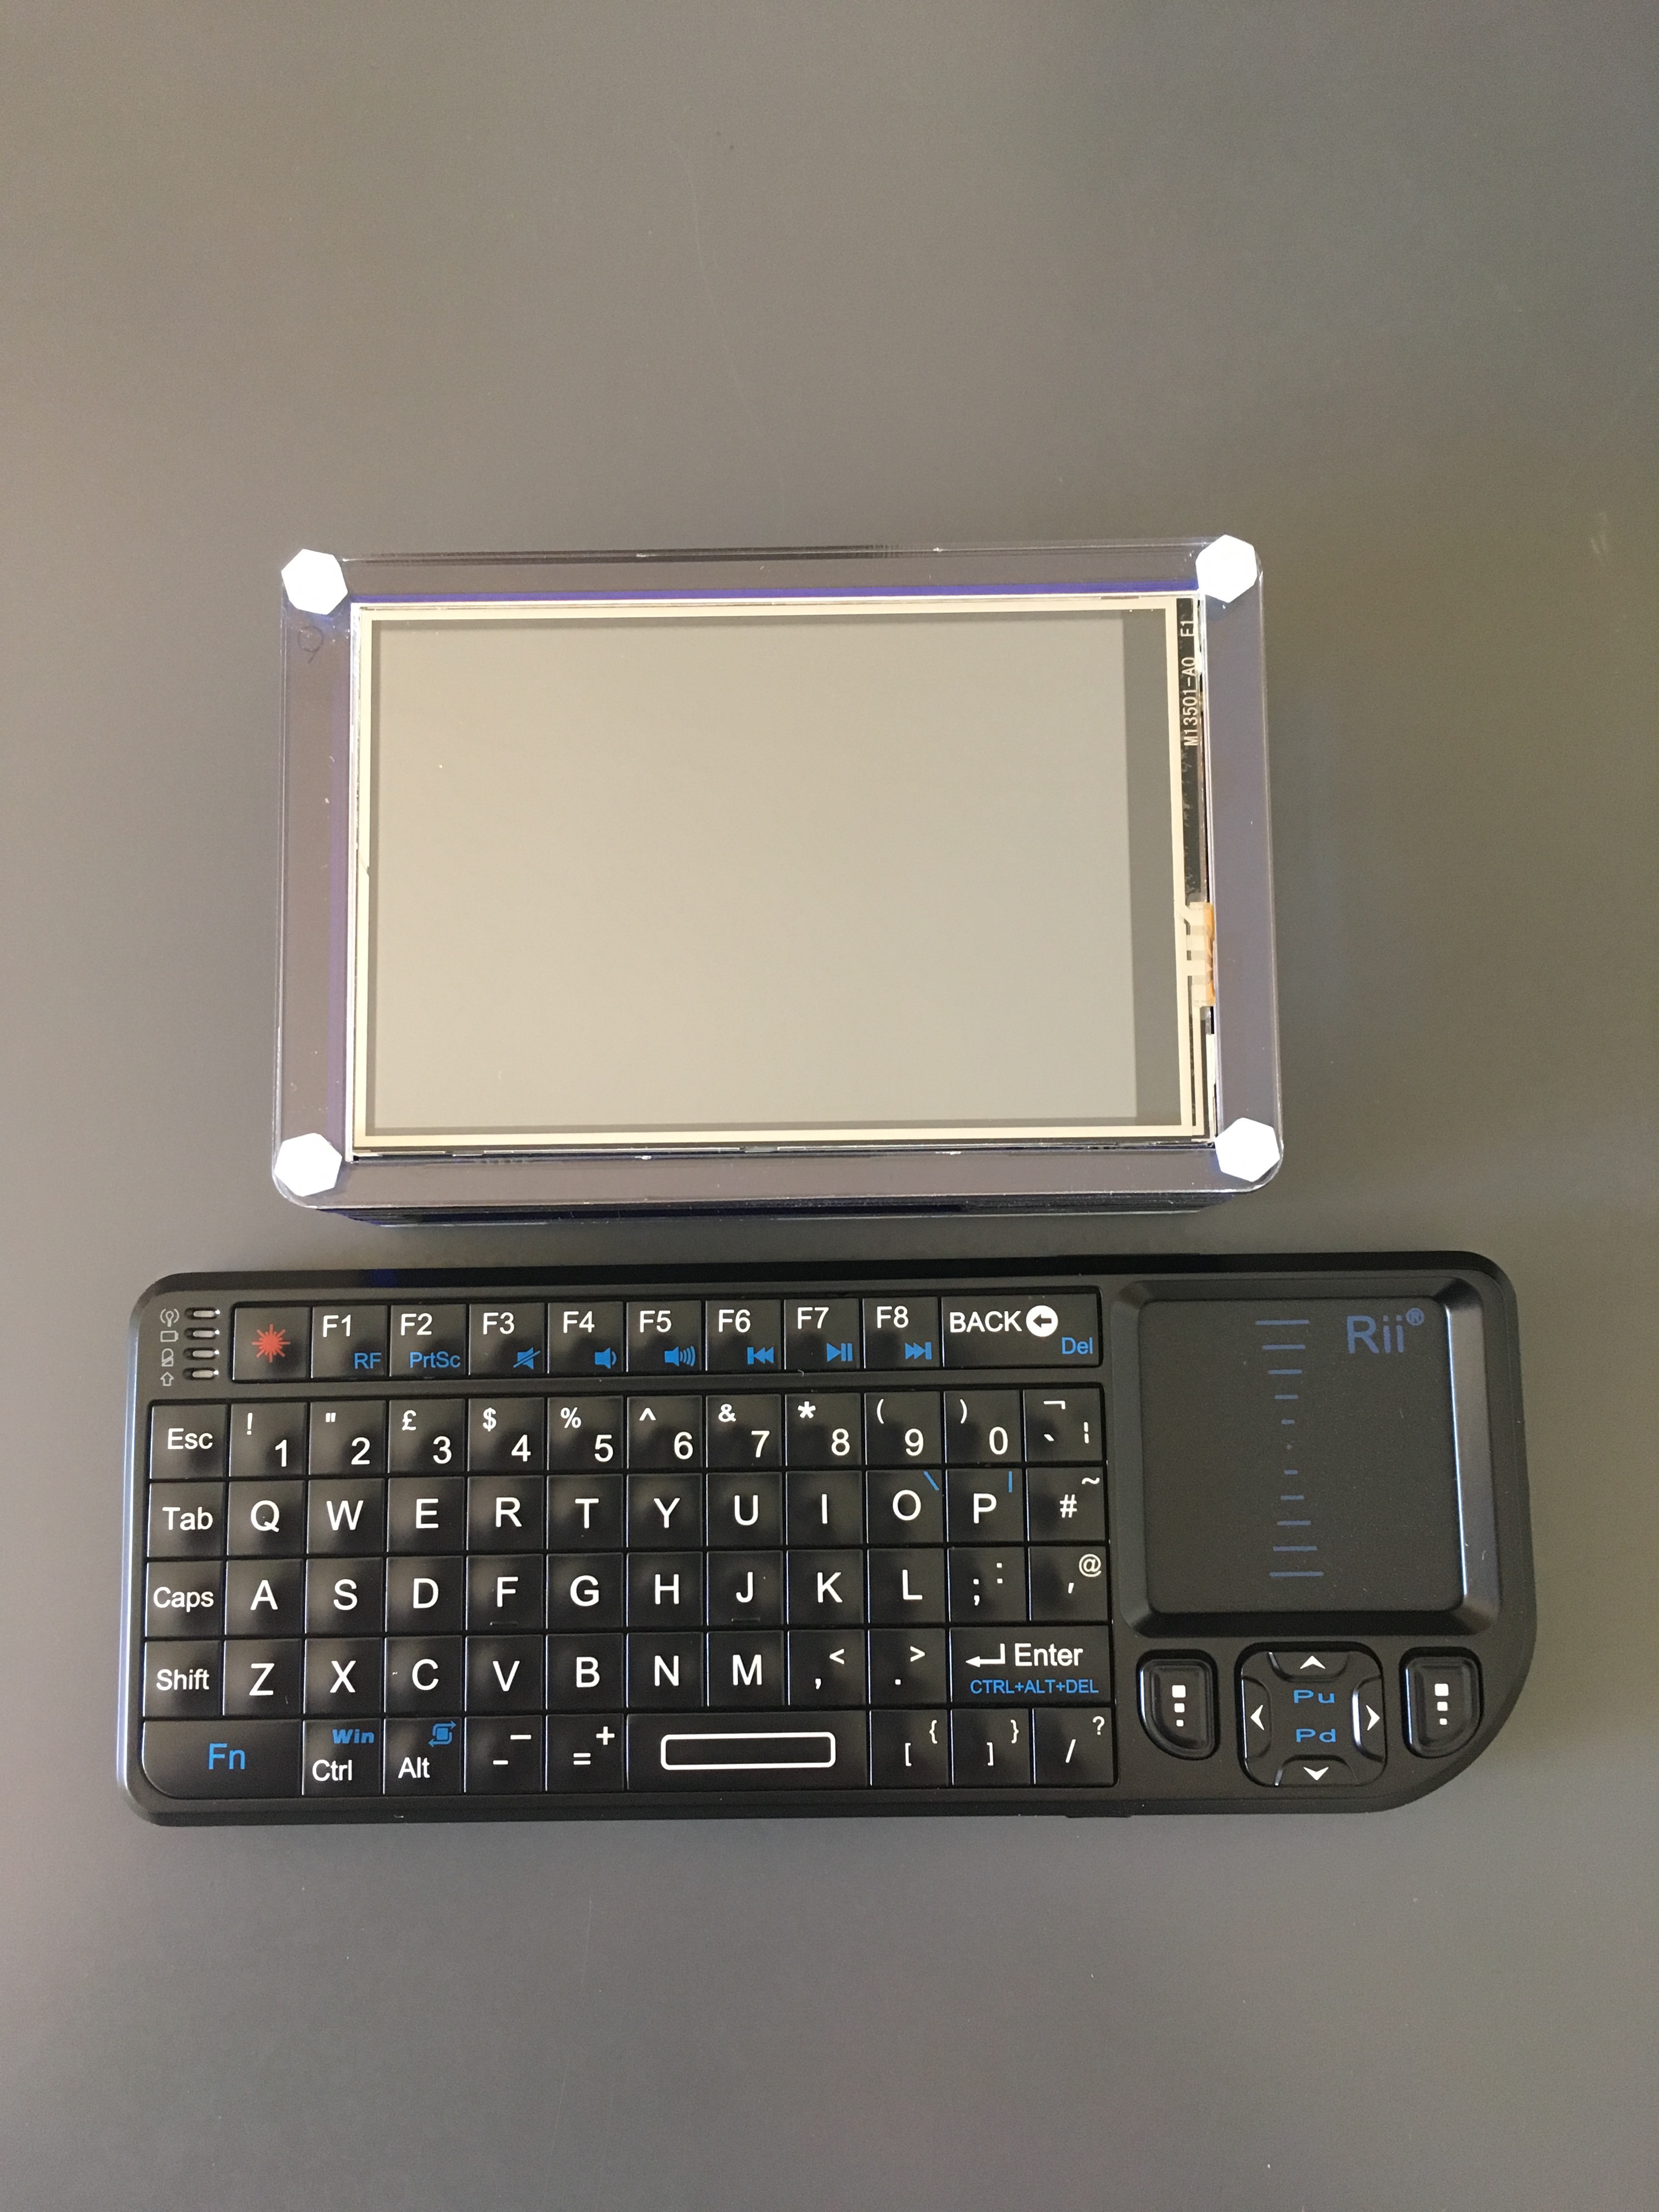
- The keyboard is convenient but optional. The one in the images above is the Miniature Wireless USB Keyboard with Touchpad from Adafruit.
• • •
Example 2: A no-name 3.5″ TFT with a Pimoroni Pibow Coupé 4 case on a Raspberry Pi 4 Model B
• • •
Remarks
- After everything has been assembled, and the SDCard with TorBox has booted up, you can only see a bright TFT display at first. The TFT display can be configured correctly via SSH using menu entry 13 in the TorBox’s configuration sub-menu. Once this is done, the TorBox menu should automatically appear on the TFT display after booting.
- The keyboard is convenient but optional. The one in the images above is the Miniature Wireless USB Keyboard with Touchpad from Adafruit.
• • •
How can I use the TorBox menu on the TFT display without an additional keyboard?
The easiest way to work with the menu on the TFT display is to use a keyboard directly connected to the Raspberry Pi. However, there is also a possibility to control the TFT display without a keyboard. To achieve this, you have to change the file .profile in your home directory:
sudo nano ~/.profile
Change following line:
./menu --> screen ./menu
Each started console runs now in a screen instance. The following commands can be used (for more check out man screen):
screen -ls -> list all screen instances
screen -x <screen-window-name> -> attache a specific screen instance
Within screen, the instance can be sent to the background using the CTRL-A CTR-D key combination.